Hi, while I’m trying to find a cheap hourly dedicated server I stumbled upon an option given by Vultr.com with their bare-metal server.
Thanks to Arif Che Hussin for introducing me with this cool opensource HCI deployment.
In this tutorial, I’m using an E-2286G bare metal server with VPC 2.0 enabled
Requirements:
- A single Cloud Server for hosting ISO files, vmzlinuz, initrd, and config-create.yaml files. I’m just using apache2 to run :80 ports. (hostname: http-vm)
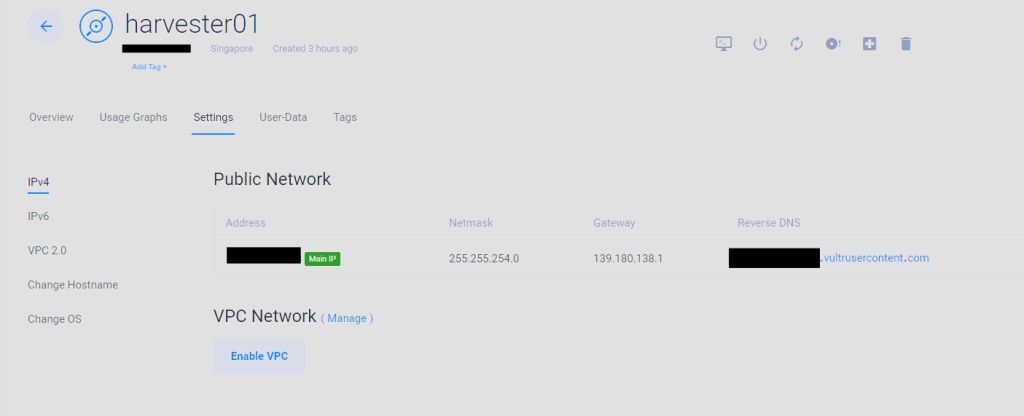
- A bare-metal servers of E-2286G (hostname: harvester01). Please enable VPC 2.0 for private IP
First up, login to http-vm and install apache2 then start the apache2 service. Please disable all firewalls or allow :80 port
Then, download all these files based on the latest Harvester version
https://github.com/harvester/harvester/releases/
I downloaded these file to my /var/www/html
💿 https://releases.rancher.com/harvester/v1.3.1/harvester-v1.3.1-amd64.iso📁 https://releases.rancher.com/harvester/v1.3.1/harvester-v1.3.1-vmlinuz-amd64📁 https://releases.rancher.com/harvester/v1.3.1/harvester-v1.3.1-initrd-amd64
📁 https://releases.rancher.com/harvester/v1.3.1/harvester-v1.3.1-rootfs-amd64.squashfs
Next, I create a config-create.yaml files to define my installation configuration of Harvester
scheme_version: 1
token: your-token  # Replace with a desired token
os:
  hostname: node1  # Set a hostname.
  ssh_authorized_keys:
  - ssh-rsa # Add ssh key here
  password: yourp@ssword  # Replace with your password
  dns_nameservers:
    - 8.8.8.8
    - 1.1.1.1
  ntp_servers:
  - 0.suse.pool.ntp.org
  - 1.suse.pool.ntp.org
install:
  mode: create
  management_interface:
    interfaces:
      - name: enp1s0f0 # Vultr baremetal interface name
        hwAddr: 3c:ec:ef:b9:c2:87  # Replace with your management interface MAC address
    ip: 10.40.112.3  # Replace with your desired static VPC 2.0 IP address
    subnet_mask: 255.255.240.0  # Replace with your desired netmask
    gateway: 10.40.112.1 # Change the
    mtu: 1450  # Set MTU for the management interface
    method: static
  device: /dev/sda  # The target disk to install
  data_disk: /dev/sdb  # It is recommended to use a separate disk to store VM data
  iso_url: http://(http=-vm)/harvester-v1.3.1-amd64.iso
  vip: 139.180.138.21  # The Public IP provided by Vultr to access the Harvester GUI.
  vip_mode: static
  vip_hw_addr: 3c:ec:ef:b9:c2:86  # Specify the MAC address for the VIP interface
  vip_netmask: 255.255.254.0  # Netmask for VIP
  vip_gateway: 139.180.138.1  # Gateway for the VIP

  #Subnotes you can get all config of our server IP/MAC details in Vultr Settings
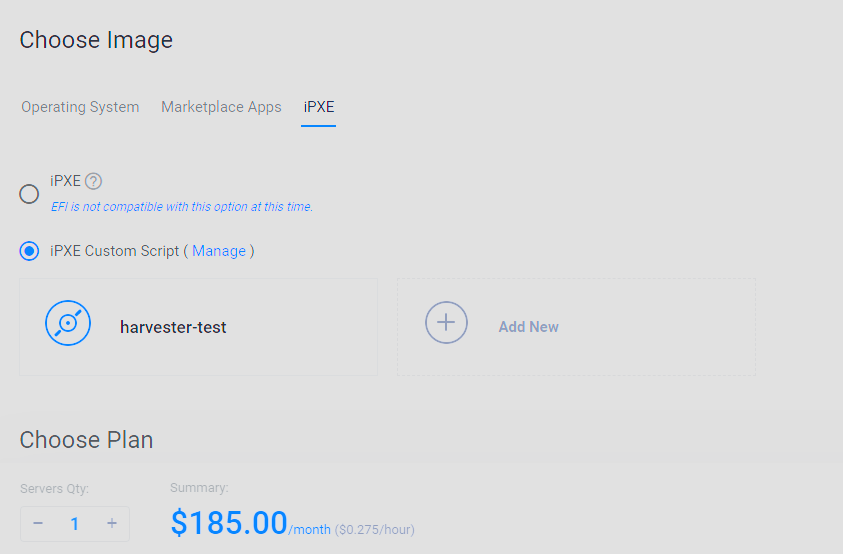
Then, navigate to Vultr Dashboard -> Products -> Orchestration -> Scripts -> Add Startup Scripts
Name: Harvester-Create
Type: PXE
Content:
#!ipxe
kernel http://(http-vm)/harvester-v1.3.1-vmlinuz-amd64 ip=dhcp net.ifnames=1 rd.cos.disable rd.noverifyssl console=tty1 root=live:http://(http-vm)/harvester-v1.3.1-rootfs-amd64.squashfs harvester.install.automatic=true harvester.install.config_url=http://(http-vm)/create-config.yaml harvester.install.skipchecks=true
initrd http://(http-vm)/harvester-v1.3.1-initrd-amd64
boot

#change (http-vm) to public IP Address
Boot up the server normally with the PXE config selected when you deploy the server
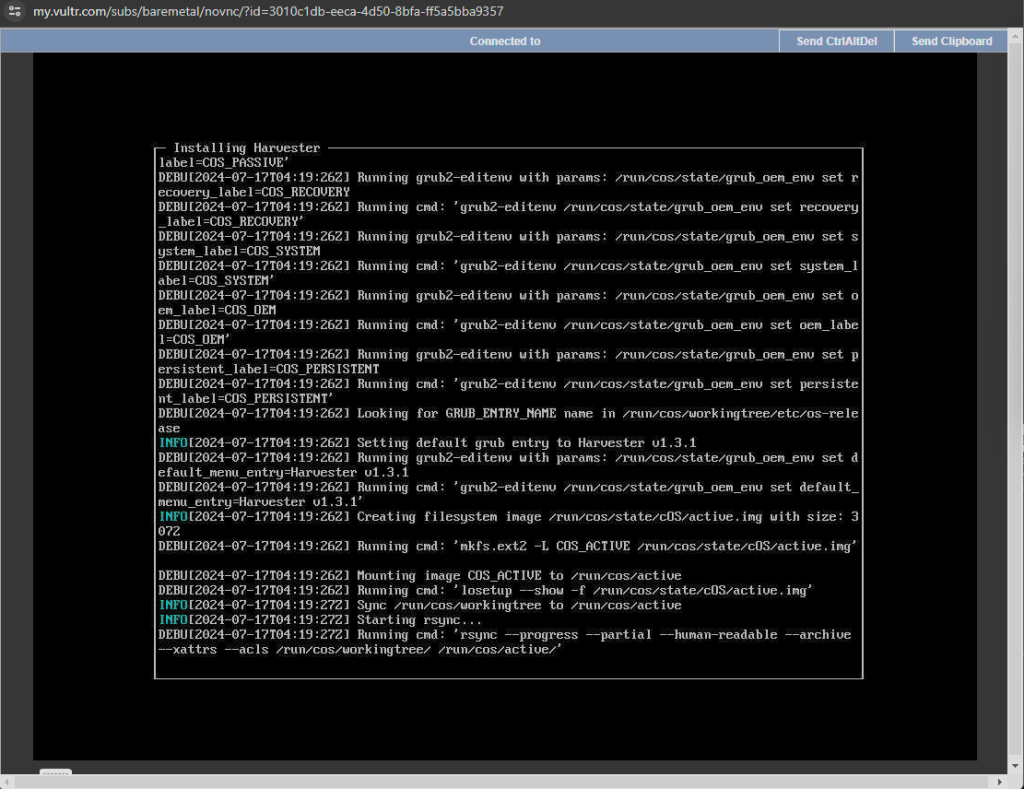
The installation process will be something like this
A successfully booted up servers
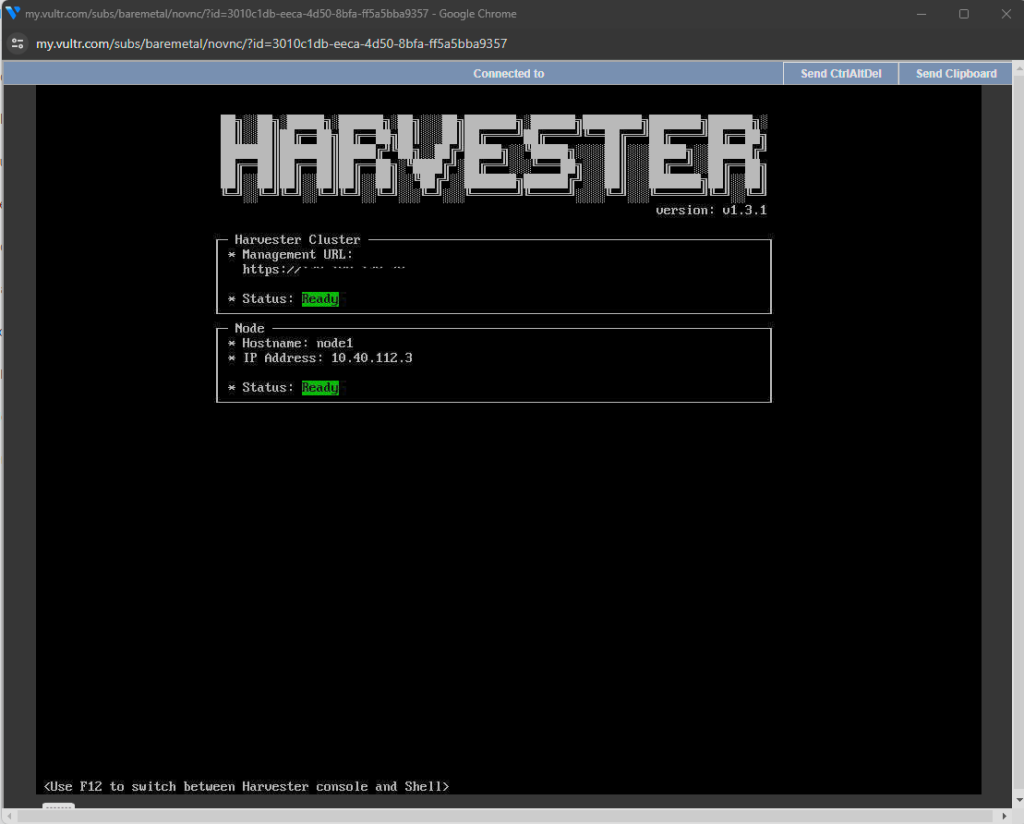
The server is now easily booted up and ready to use for Virtualization or K8S deployment.
Next, I will demonstrate how to join multiple nodes in Harvester and controlled by Rancher deployment.
Arigato and happy k8s!